The Complete Guide to Batt Insulation: Expert Tips for Batt Insulation
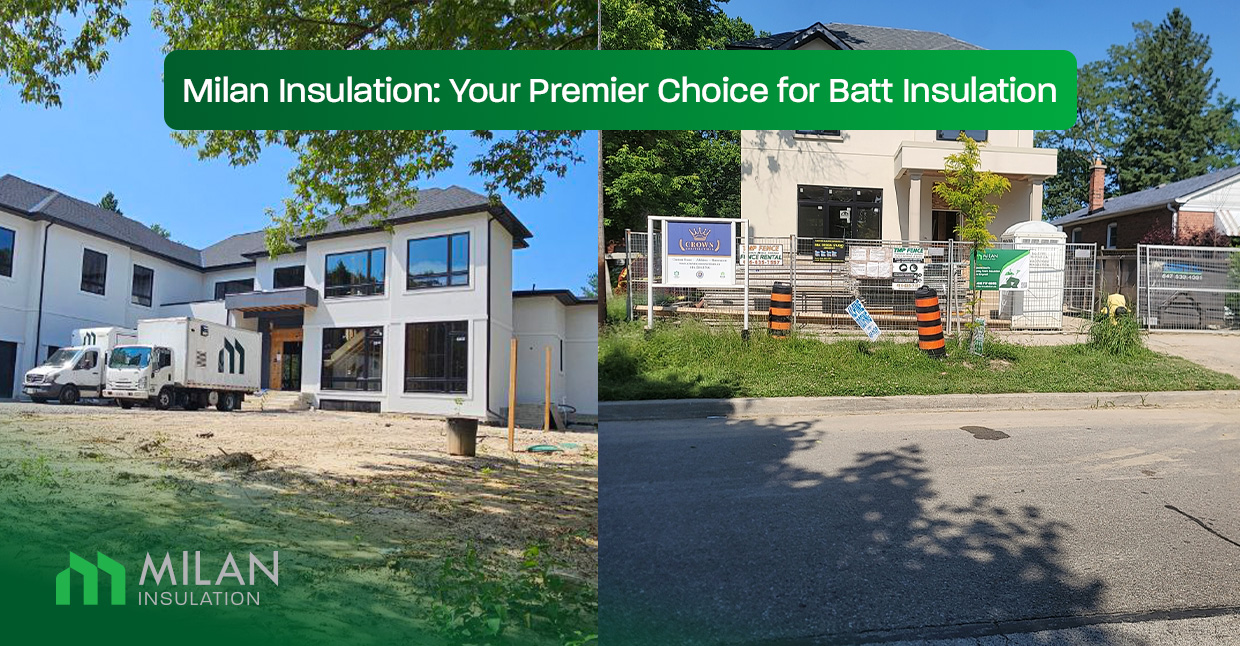
Batt insulation is a fundamental component in modern building construction and renovation, offering a balance of cost-effectiveness, ease of installation, and thermal efficiency. This guide provides an in-depth look at batt insulation and essential tips for maximizing its effectiveness. Milan Insulation is the go-to choice for homeowners and businesses seeking top-notch insulation solutions.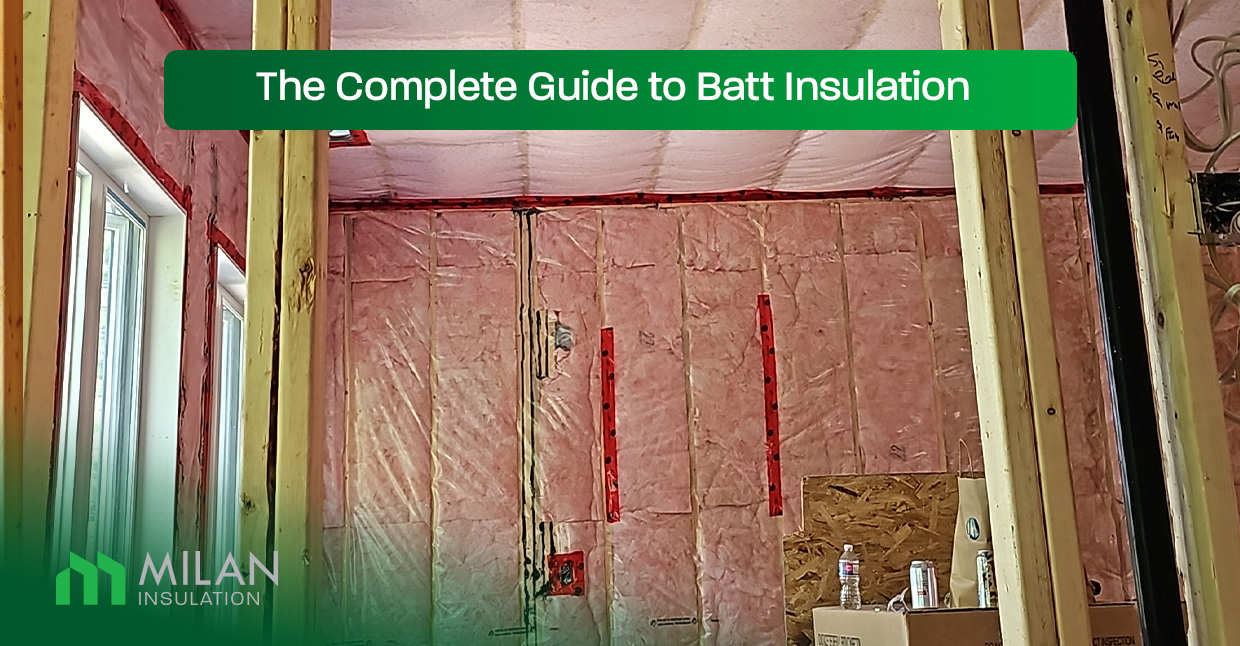
Batt insulation cost
When considering batt insulation for your property, it’s important to understand the costs associated with different types, such as Rockwool and fibreglass batt insulation. Prices can vary based on the type of material, installation complexity, and specific project needs.
Milan Insulation offers competitive pricing, starting at around $2.30 per square foot for their batt insulation services.
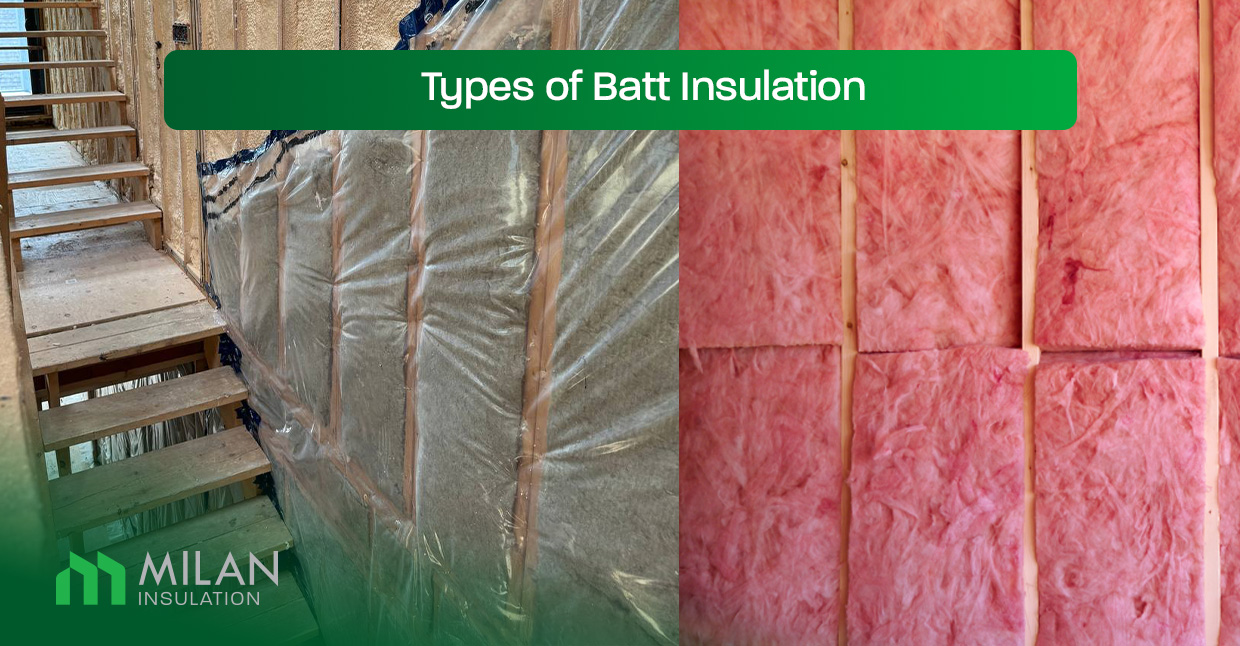
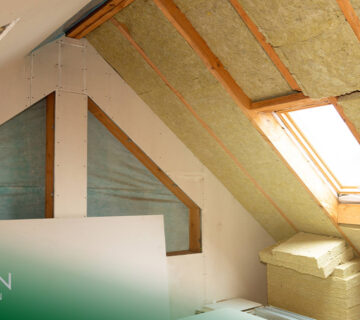
Types of Batt Insulation
Selecting the right type of batt insulation is essential for maximizing energy efficiency, comfort, and safety in your home or commercial property. Among the most widely used options is fibreglass and Rockwool (also known as mineral wool) batt insulation. Each material offers unique benefits, making it ideal for different applications based on your specific requirements.
Fiberglass Batt Insulation
- Composition: Made from fine strands of glass spun into a soft, wool-like material.
- Benefits:
- Cost-Effective: One of the most affordable insulation options on the market.
- Thermal Efficiency: Available in various R-values, it effectively reduces heat transfer.
- Fire Resistance: Naturally non-combustible, offering essential fire protection.
- Sound Absorption: Helps reduce noise transmission between rooms.
- Ideal For: Homeowners looking for a budget-friendly insulation option offering good performance.
Rockwool Batt Insulation
- Composition: Created from natural stone and recycled steel industry slag, processed into dense, fibrous batts.
- Benefits:
- Superior Thermal Performance: Higher R-values per inch, ideal for colder climates.
- Fire Safety: Highly fire-resistant, capable of withstanding extreme temperatures.
- Soundproofing: Exceptional noise reduction due to its density.
- Moisture Resistance: Naturally water-repellent, preventing mould and mildew growth.
- Ideal For: Those seeking top-notch thermal insulation, fire safety, and soundproofing, especially in challenging environments.
Insulation Decision: Which one is your choice
- What’s Your Budget?
- Budget-Friendly → Fiberglass
- Willing to Invest in Performance → Go to Step 2
- What’s Most Important to You?
- Fire Safety → Rockwool
- Soundproofing → Rockwool
- Ease of Installation → Fiberglass
- Moisture Resistance → Rockwool
- Consider Your Environment:
- Is the Area Prone to Moisture?
- Yes → Rockwool
- No → Fiberglass
Installation Tips for Batt Insulation
- Proper Sizing
Ensure that the batts are the correct size for the space. Batts that are too small can leave gaps, while those that are too large can bunch up, reducing their effectiveness. - Avoid Compressing the Batts
Compressing batt insulation reduces its R-value, meaning it won’t insulate either. Make sure to install it so that it fully expands to fill the cavity. - Seal Gaps and Cracks
Before installing batt insulation, seal any gaps or cracks in the walls with caulk or foam sealant to prevent air leakage. - Install a Vapor Barrier
In colder climates, installing a vapour barrier on the warm side of the insulation is essential to prevent moisture from condensing inside the wall, which can lead to mould growth. - Wear Protective Gear
When handling fibreglass or mineral wool insulation, wear gloves, long sleeves, and a mask to protect against irritation from the fibres. - Check Local Building Codes
Ensure that your insulation installation complies with local building codes, which may dictate the required type and amount of insulation.
Advanced Tips for Batt Insulation Before Installation
Ensuring the success of your batt insulation project starts long before you begin the installation process. Here are some advanced tips to help you prepare effectively and get the most out of your insulation:
1. Conduct a Comprehensive Assessment
- Evaluate Existing Insulation: Check the condition of any existing insulation. It should be removed and replaced if damaged, wet, or deteriorating to prevent future problems like mould or energy inefficiency.
- Identify Gaps and Leaks: Use an infrared camera or a smoke pen to detect air leaks around windows, doors, and other openings. Seal these gaps with caulk or weatherstripping before installing insulation to maximize energy efficiency.
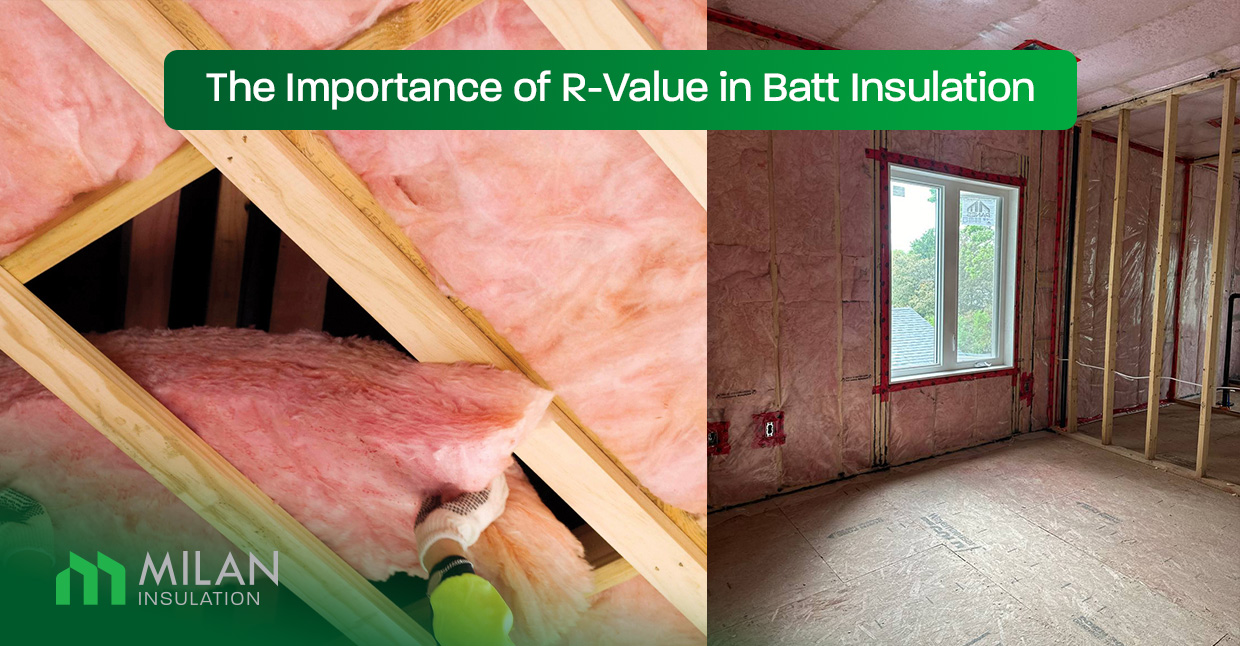
2. Choose the Right R-Value
- Climate Consideration: Select the appropriate R-value based on your region’s climate. Higher R-values are recommended for colder climates, while lower R-values may suffice in milder areas. Consult local building codes or an insulation professional for guidance.
- Layering Strategy: For added efficiency, consider layering different R-value batts, especially in attics where more insulation can significantly improve energy performance.
3. Plan for Vapor Barriers
- Understand Moisture Control: Planning for vapour barriers is crucial in areas prone to moisture, such as basements or exterior walls. This will prevent condensation from forming within the insulation, which can lead to mould and reduce effectiveness.
- Placement Matters: Ensure the vapour barrier is installed on the warm-in-winter side of the insulation. This usually means the inside of the wall in cold climates and the exterior in warmer climates.
4. Address Potential Obstructions
- Work Around Pipes and Wires: Plan how you’ll insulate around plumbing, electrical wiring, and other obstructions. Cut batts to fit snugly around these elements without compressing the insulation, as this can reduce its effectiveness.
- Prepare for Recessed Lighting: If you have recessed lights in the ceiling, ensure they are insulation contact (IC) rated. If not, maintain the recommended clearance around the fixtures to prevent overheating.
5. Ventilation Considerations
- Attic Ventilation: Proper ventilation is crucial in attics to prevent moisture buildup and maintain the insulation’s effectiveness. Ensure that soffit vents are clear and baffles are installed to open air pathways.
- Basement and Crawl Space Ventilation: Consider whether these areas are ventilated if you are insulating a basement or crawl space. Unventilated spaces may require different insulation strategies, such as encapsulation, to manage moisture and airflow properly.
6. Measure and Pre-Cut Materials
- Precision Cutting: Accurately measure the spaces between studs, joists, or rafters before cutting your batt insulation. This ensures a snug fit, which is crucial for preventing gaps leading to thermal bridging and reduced efficiency.
- Stock Up on Tools: Before starting, have all necessary tools on hand, including a utility knife with sharp blades for cutting insulation, a straight edge, and measuring tape.
7. Plan for Safety
- Protective Gear: Wear appropriate protective gear, including gloves, long sleeves, safety goggles, and a dust mask to protect against irritation from fibreglass or Rockwool particles.
- Ventilate the Work Area: Ensure proper ventilation, especially if working in a confined area like an attic or crawl space. This will help disperse any airborne particles and maintain air quality.
8. Coordinate with Other Projects
- Timing with Other Trades: If your project involves other trades (like electricians or plumbers), coordinate the timing of the insulation installation. This ensures that all necessary work is completed without disturbing the insulation later.
- Schedule Around Weather: If you’re working on exterior walls or unconditioned space, schedule installation during mild weather to avoid extreme temperatures that could affect the installation process or material handling.
9. Prepare the Surface
- Clean and Clear: Ensure all surfaces where insulation will be installed are clean, dry, and debris-free. Any moisture or contaminants can compromise the insulation’s effectiveness.
- Inspect for Pests: Check for signs of pests, such as rodents, and address any infestations before installation. Pests can damage insulation and create long-term issues.
Following these advanced preparation, tips ensure that your batt insulation is installed efficiently, performs optimally, and provides long-lasting benefits. Proper planning and attention to detail before installation are crucial to achieving the best possible results from your insulation investment.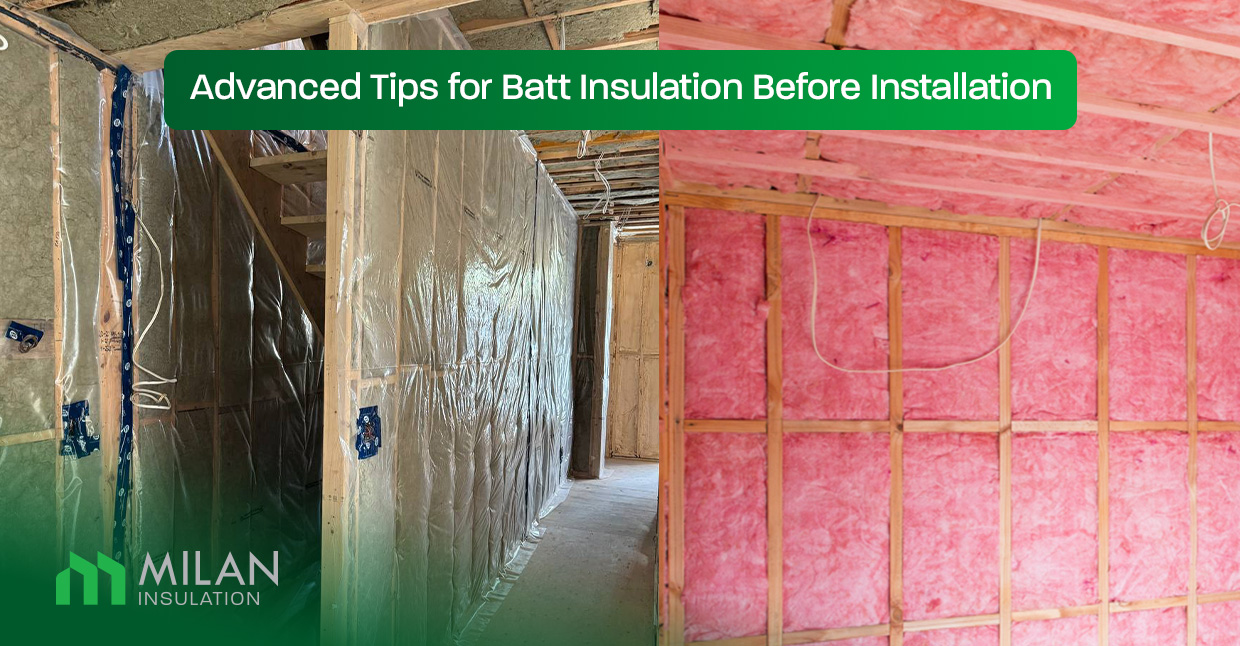
Common Mistakes to Avoid
- Not Wearing Protective Gear
Fiberglass and other insulation materials can cause skin irritation and respiratory issues if inhaled. Always wear protective clothing and a mask. - Ignoring R-Value Requirements
Different home areas require different R-values depending on the climate and location. Failure to meet these requirements can result in insufficient insulation. - Improper Installation Around Obstacles
When installing batt insulation around electrical boxes, pipes, and wiring, it’s essential to cut the insulation carefully to fit around these obstacles, ensuring no gaps. - Overstuffing Insulation
Pushing too much insulation into a space can reduce its effectiveness. A snug fit that allows the insulation to expand fully is better. - Skipping the Vapor Barrier
A vapour barrier is essential in many regions and significantly colder climates to prevent moisture buildup within the walls. Skipping this step can lead to serious problems like mould and mildew.
No comment